Admin/Instance Management
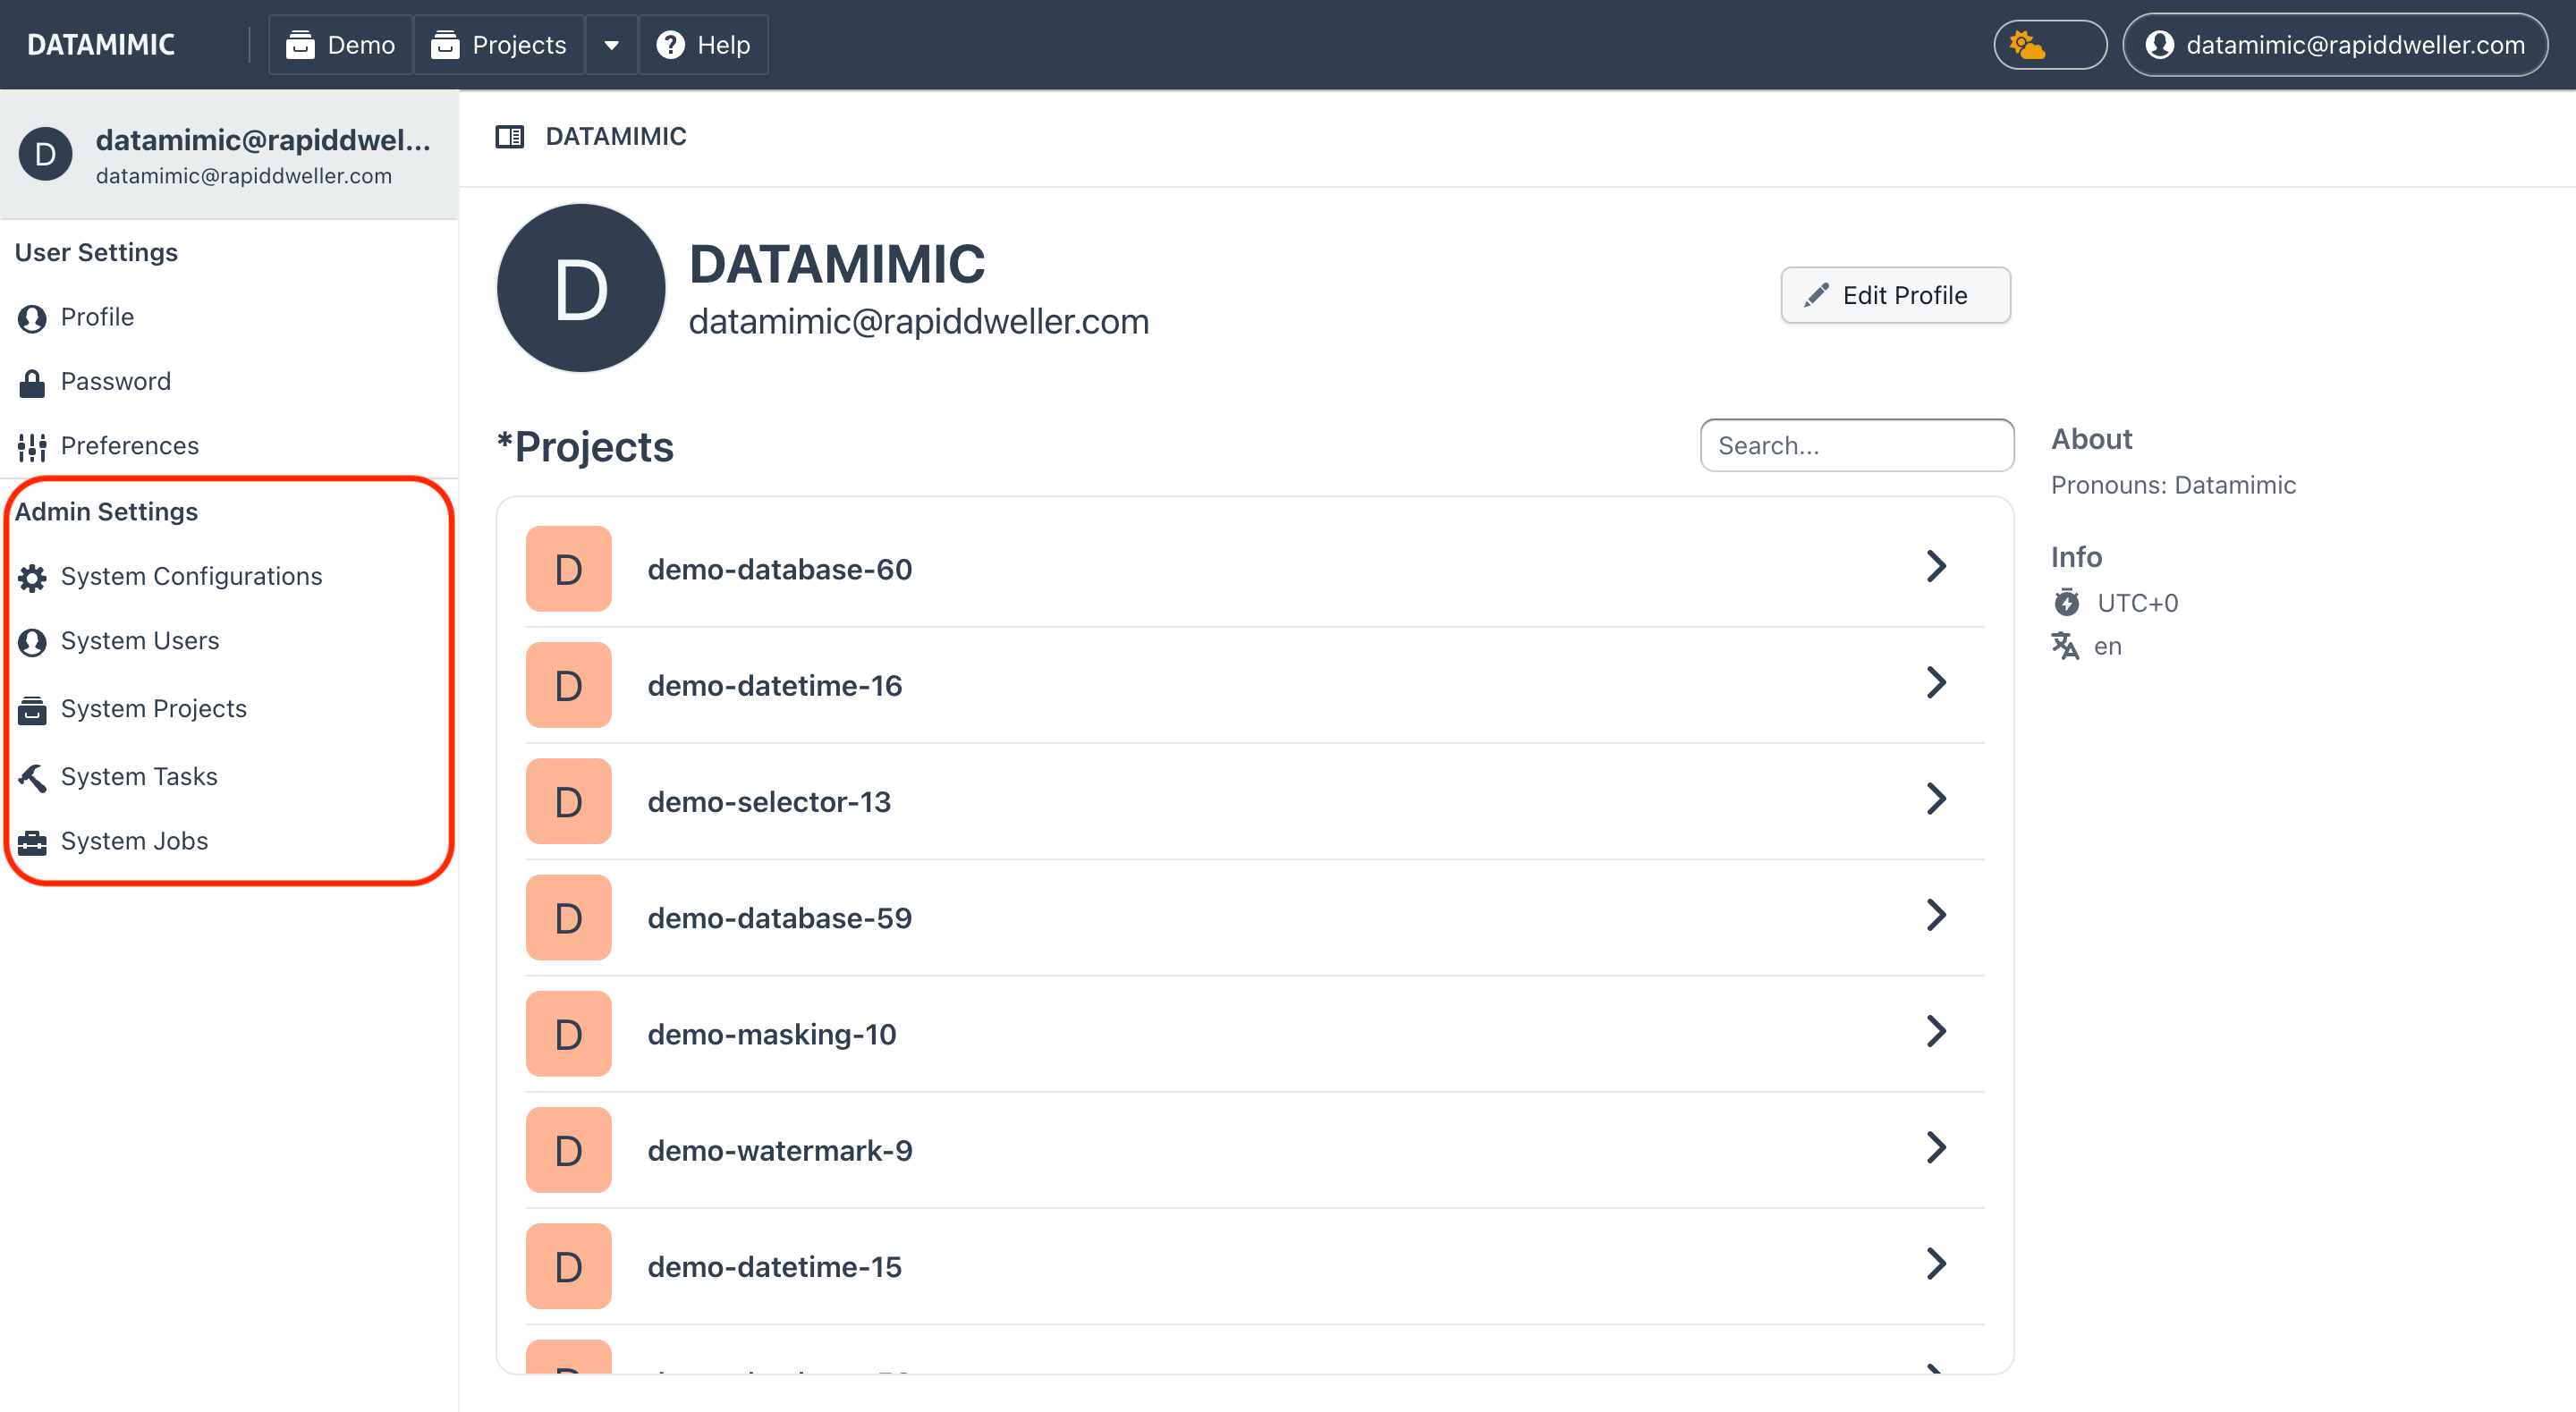
Users with the admin role have additional controls in the Dashboard view under Admin Settings. On desktop, Admin Settings appears in the left sidebar; on mobile, the same sections are available as tabs. These controls operate system-wide (users, projects, logs, and more), not per-project.
On-premise installation
An initial admin user is being created on deployment of a new DATAMIMIC instance. Additional users can be promoted to the admin role from System Users. New users will always be created with the default user role and do not have admin privileges.
Controls and Actions
The admin role provides access to the following additional functions via Admin Settings:
- System Configurations: Manage all configurations in the system.
- System Users: Manage all users in the system, including password resets and creating new users.
- System Projects: Manage all projects, including adding users to projects.
- Admin Tasks: View and manage project + system tasks across the instance.
- Admin Schedules: Manage all recurring schedules in the system.
- Backup and Restore: Create and restore backups, and toggle maintenance mode.
- Housekeeping: Run or schedule retention-based cleanup and archiving.
- System Banner: Manage instance-wide banners for maintenance and alerts.
System Configurations
The System Configurations section provides an overview of all settings running in the system used only by administrator level.
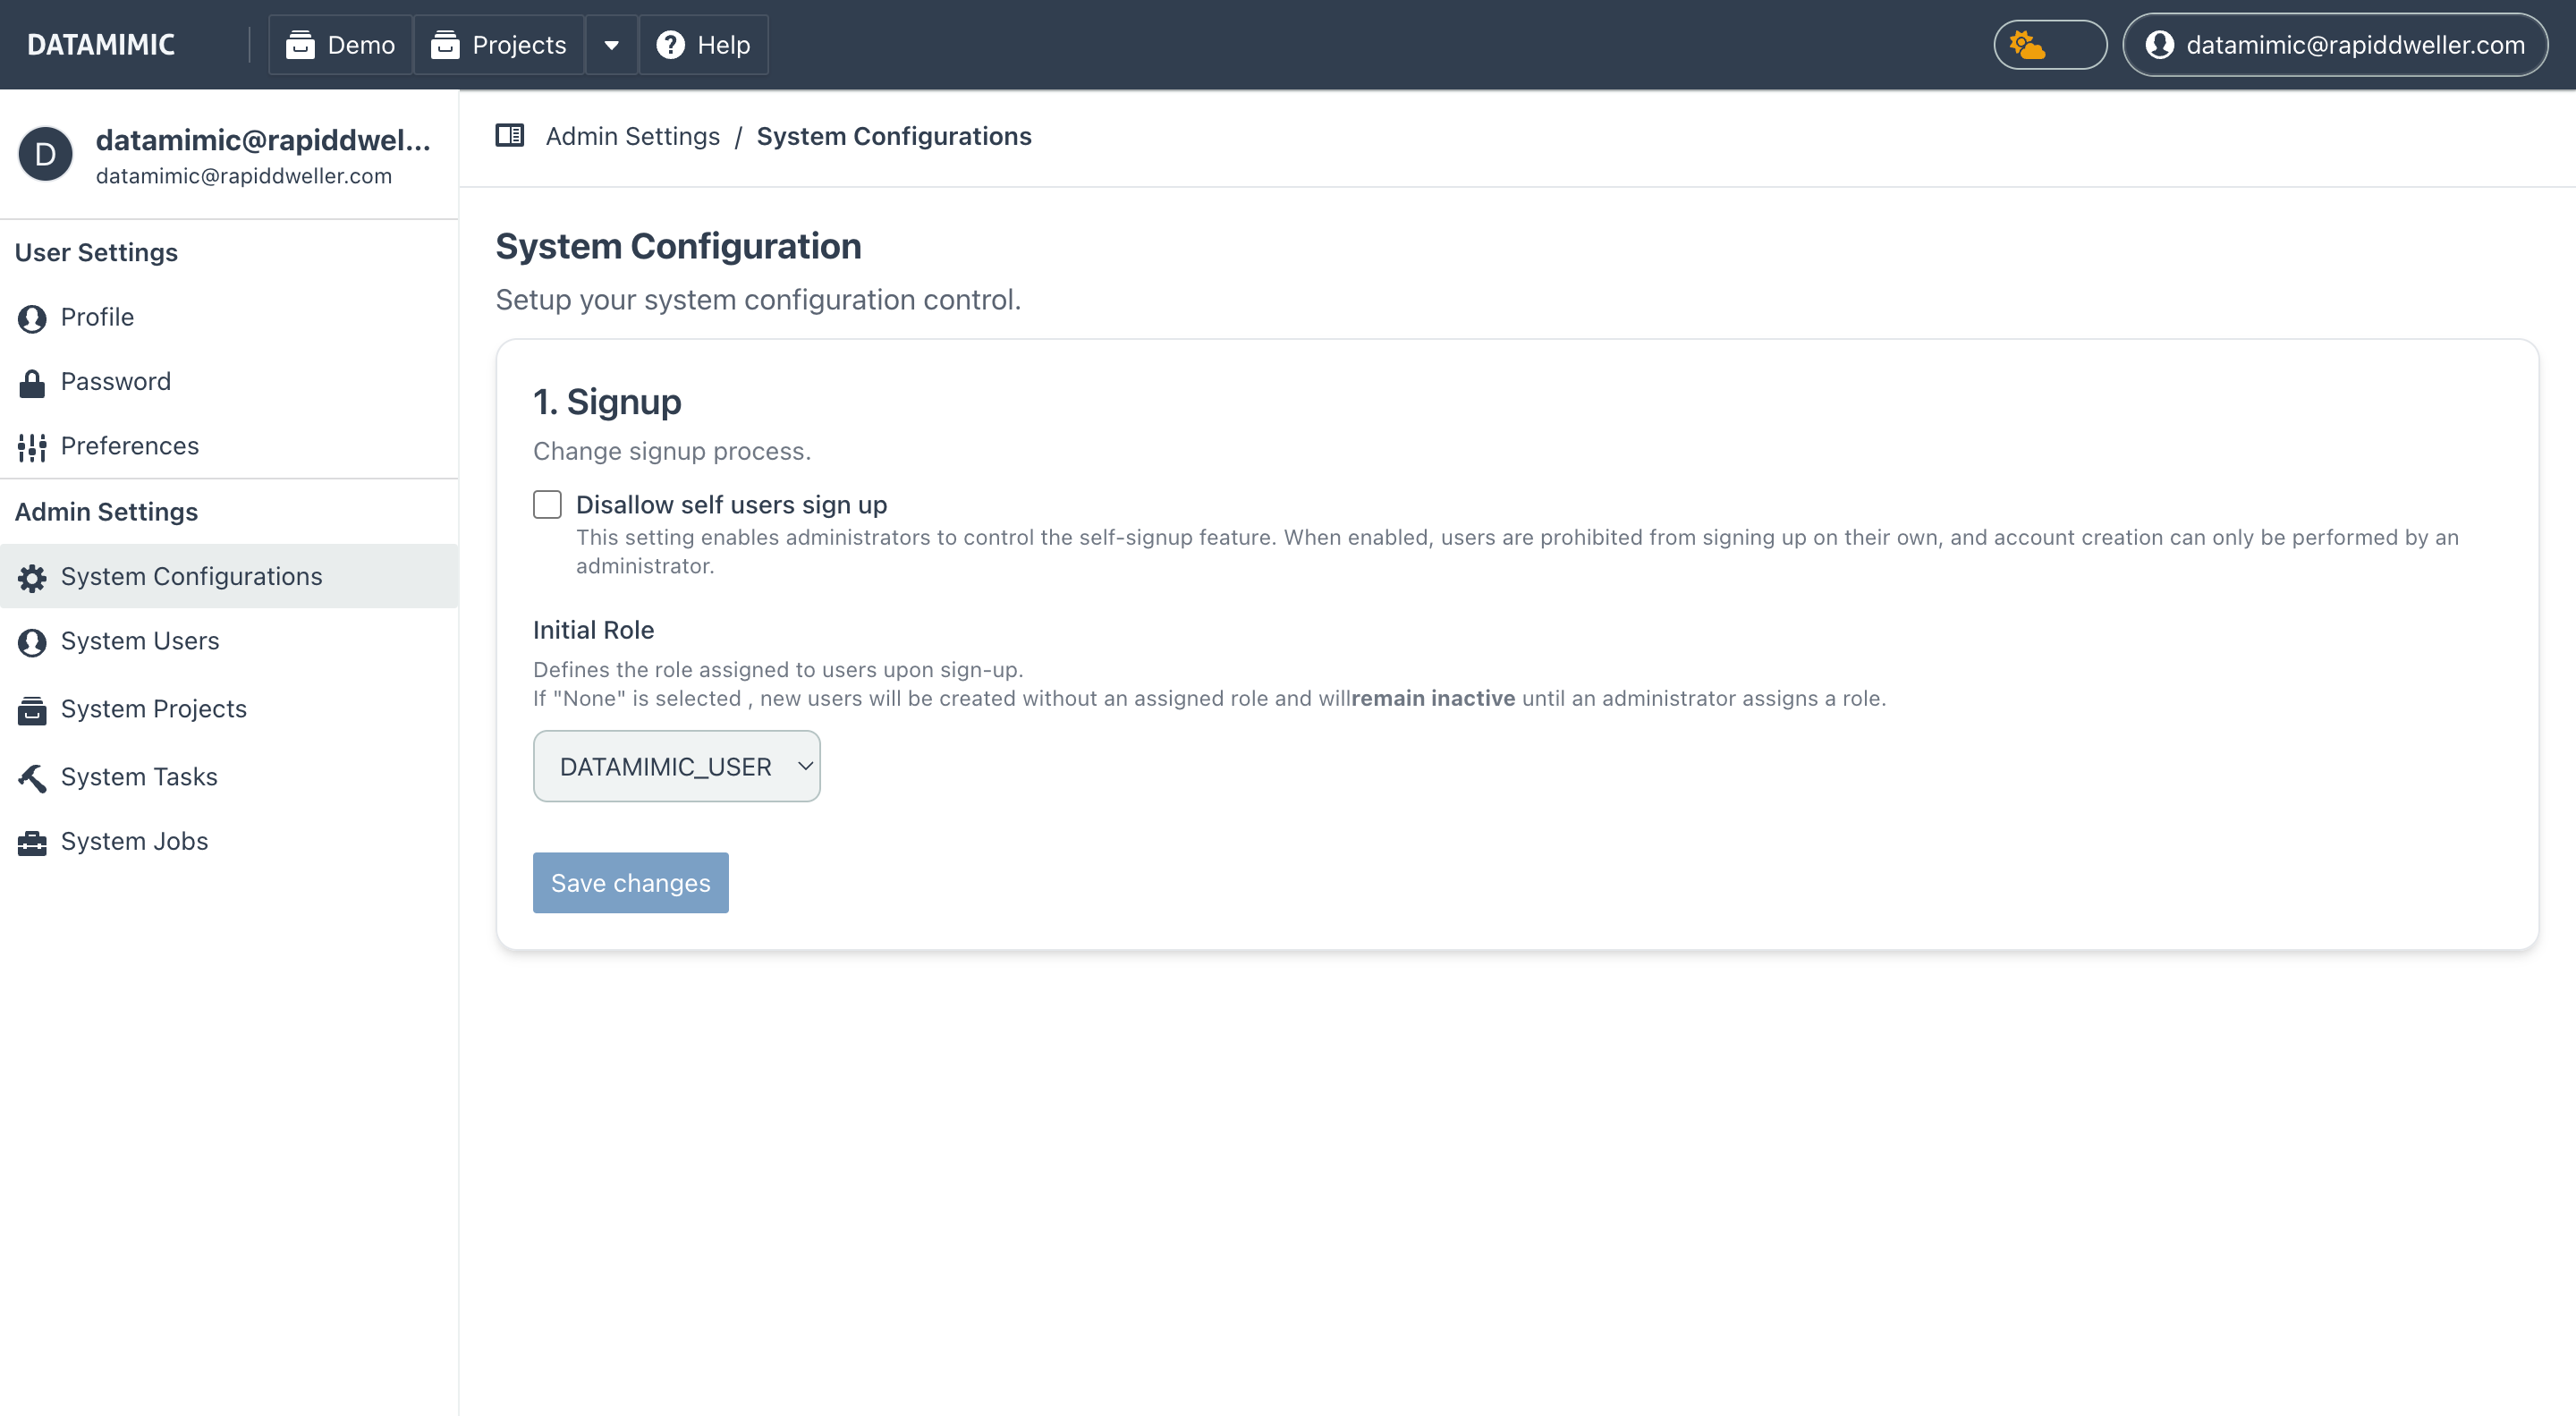
Signup
The signup configuration feature allows administrators to control user self-signup behavior and set the default role assigned to new users upon creation. This provides flexibility in managing how users access the DATAMIMIC system and what permissions they receive by default.
Key Features
- Disallow Self Users Signup: This option allows administrators to control whether users can sign up independently. When enabled, self-signup is disabled, meaning new users can only be created by an administrator.
- When Disallow Self Users Signup is checked, the sign-up form will no longer be accessible, and all account creation must go through administrative actions.
-
When the option is unchecked, users can register themselves via the standard sign-up process.
-
Initial Role Assignment: The admin can define the role that is automatically assigned to new users upon signup. This allows for predefined permissions to be granted to new users based on their assigned role.
- If the Initial Role is set to a specific role (e.g.,
DATAMIMIC_USER), users will be granted that role immediately upon signup. - If the Initial Role is set to None, new users will be created in an inactive state, meaning they cannot access the system until an administrator assigns them a role and activates their account.
Example Usage
This feature is accessible from the System Configurations page, under the Signup section. Admins can toggle the self-signup option and define the initial role for new users from this page.

The signup configuration settings include:
- Disallow self users signup: A checkbox that controls whether users can sign up on their own.
- Initial Role: A dropdown where admins can select the default role for new users, including the option to set the role to None, which places new users in an inactive state until manually activated by an admin.
Example Configuration
Imagine a scenario where you want to allow self-signup but ensure that new users are created with limited access. You could configure the Initial Role to DATAMIMIC_USER, providing users with basic access while preventing them from accessing sensitive areas.
Alternatively, if you want to control every user's access manually, you can enable Disallow Self Users Signup and set the Initial Role to None. This way, no one can sign up on their own, and even if they are added to the system by an admin, they will remain inactive until explicitly assigned a role and activated.
Administrative Signup Process
When Disallow Self Users Signup is enabled, admins are responsible for creating new users via the System Users section. From there, administrators can create accounts, assign roles, and activate users directly.
Admins will have the ability to:
- Assign roles such as
DATAMIMIC_USER,DATAMIMIC_ADMIN, etc. - Control activation and deactivation of users manually.
This setup is ideal for more controlled environments where user access needs to be tightly managed.
Best Practices for Signup Management
- Security Consideration: If your system contains sensitive or critical data, it is recommended to disable self-signup and require admin approval for new users. This ensures that only authorized individuals gain access to the system.
- Initial Role Customization: Use the Initial Role feature to manage user permissions effectively. Setting the role to None ensures that new users do not accidentally gain access to unauthorized parts of the system.
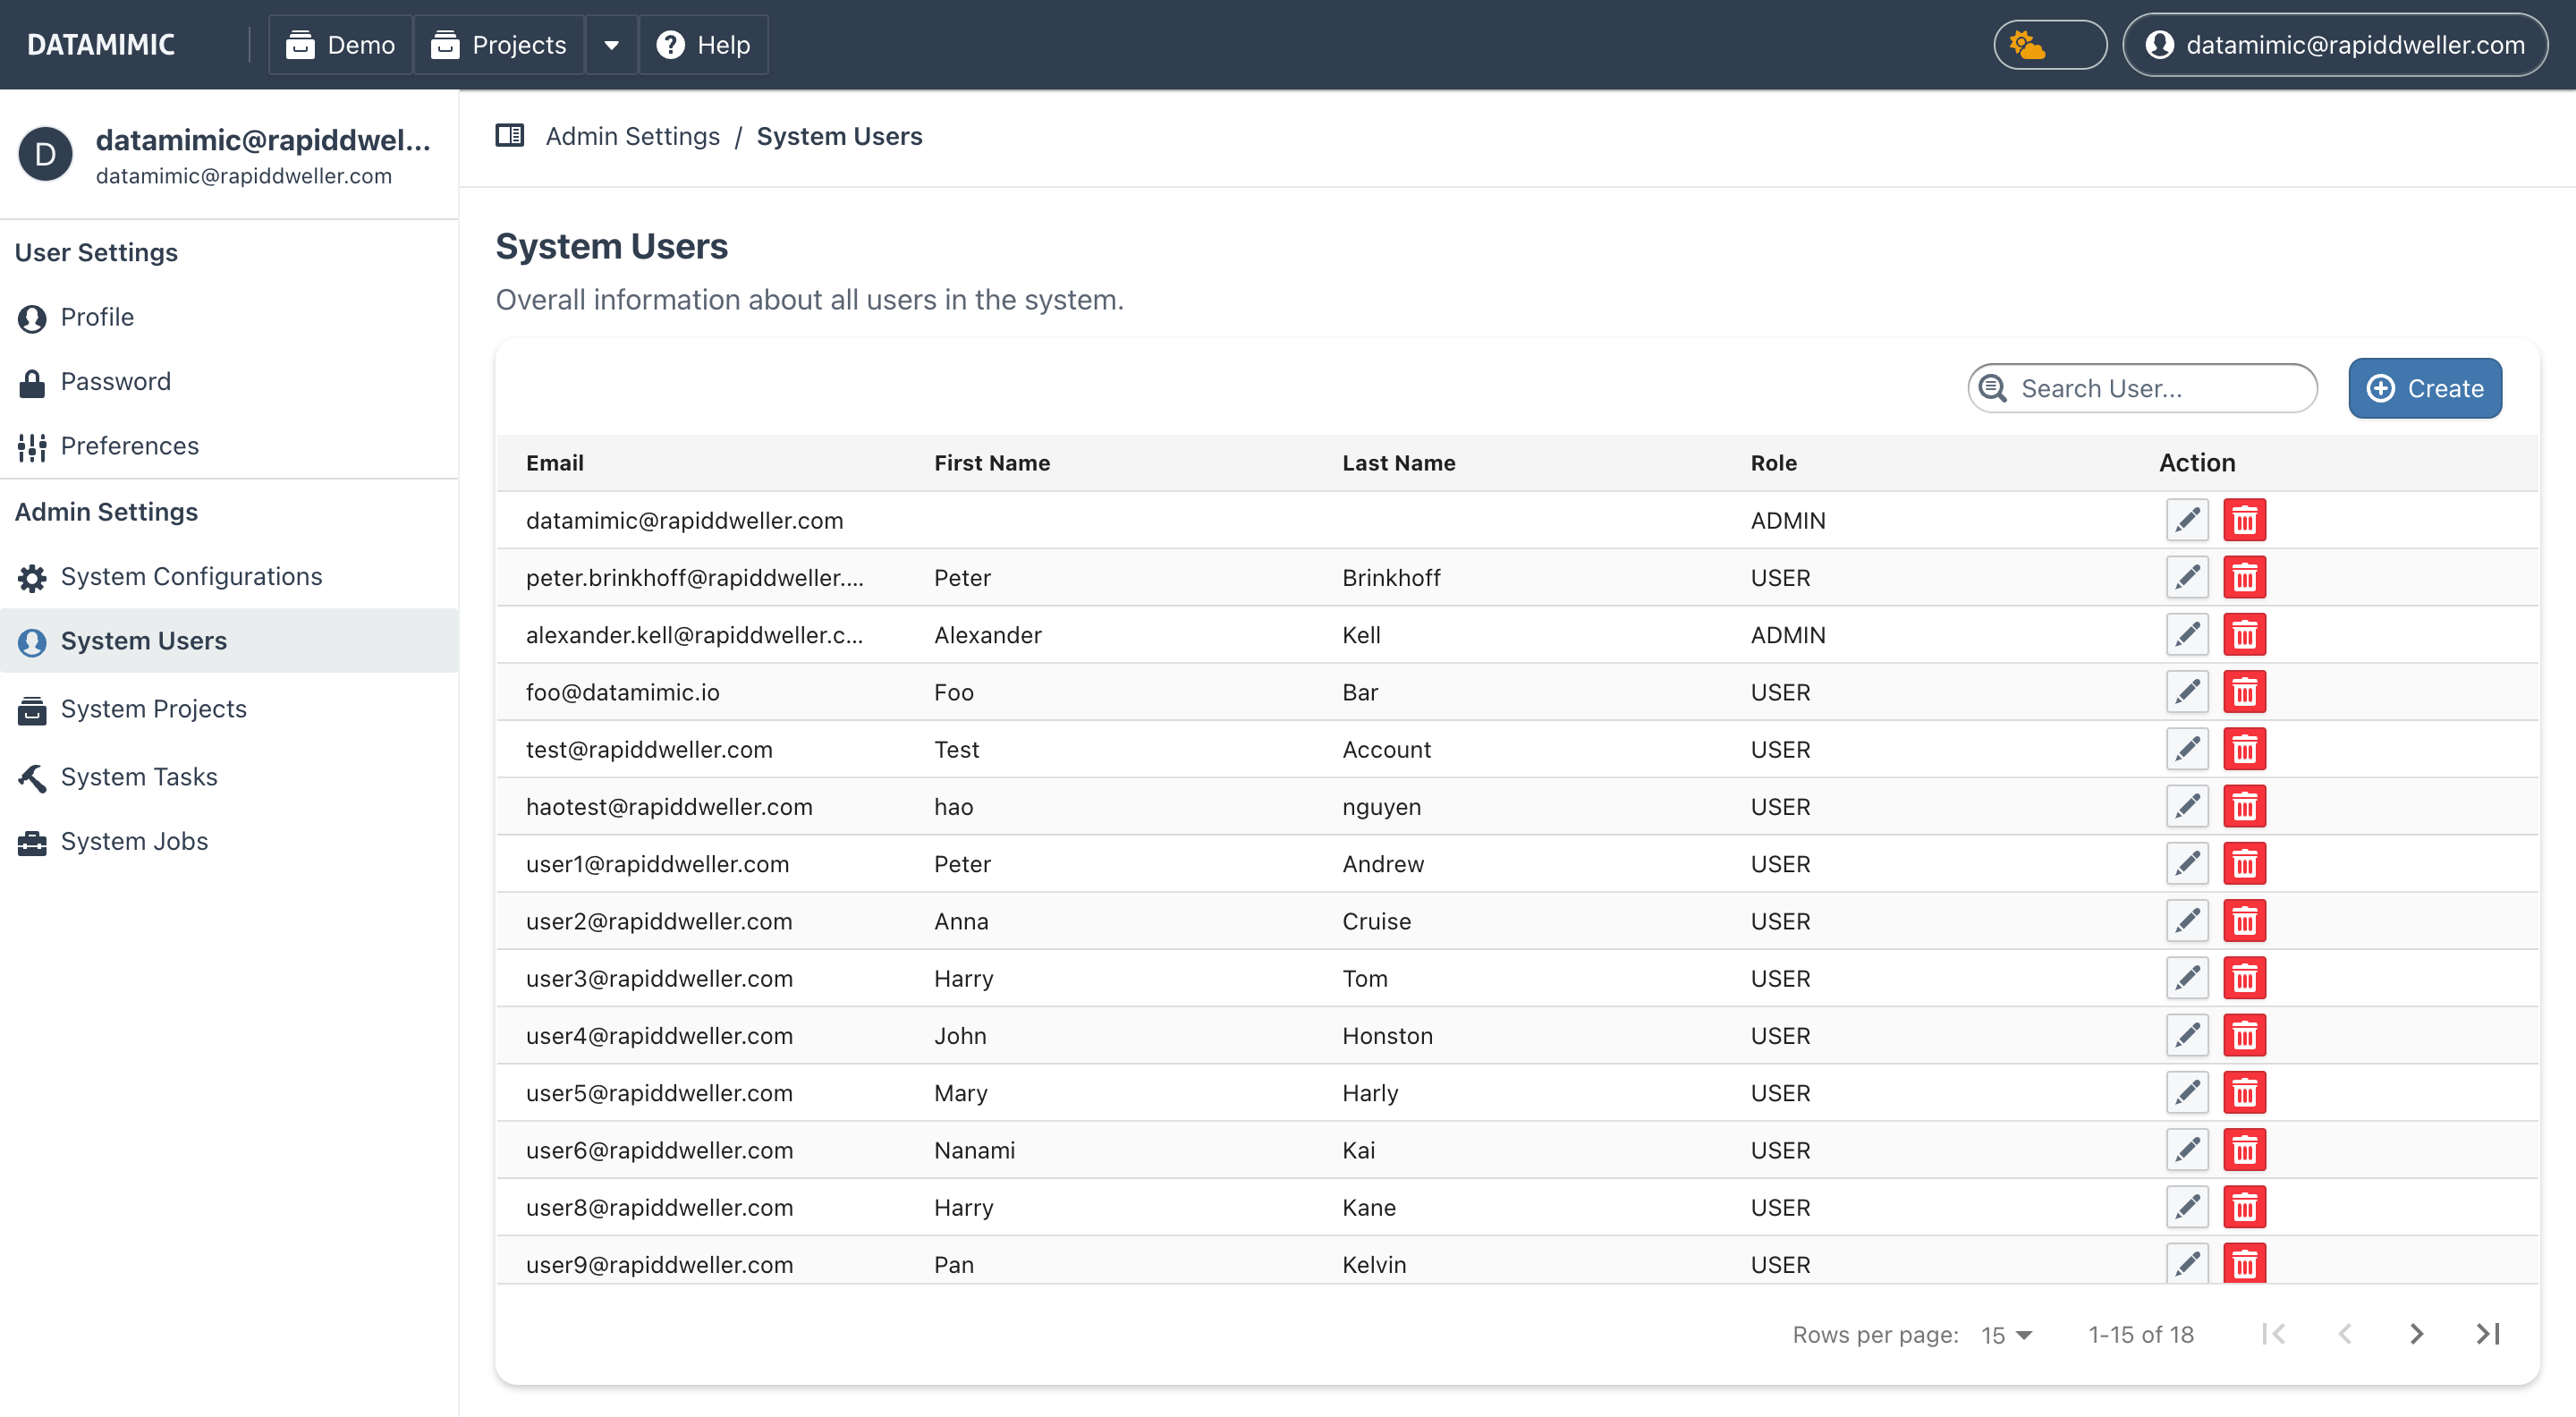
System Users
The System Users section provides functionality to manage all users within the DATAMIMIC system. Admins can:
- Reset passwords for users.
- Create new user accounts.
- Update user details and roles.
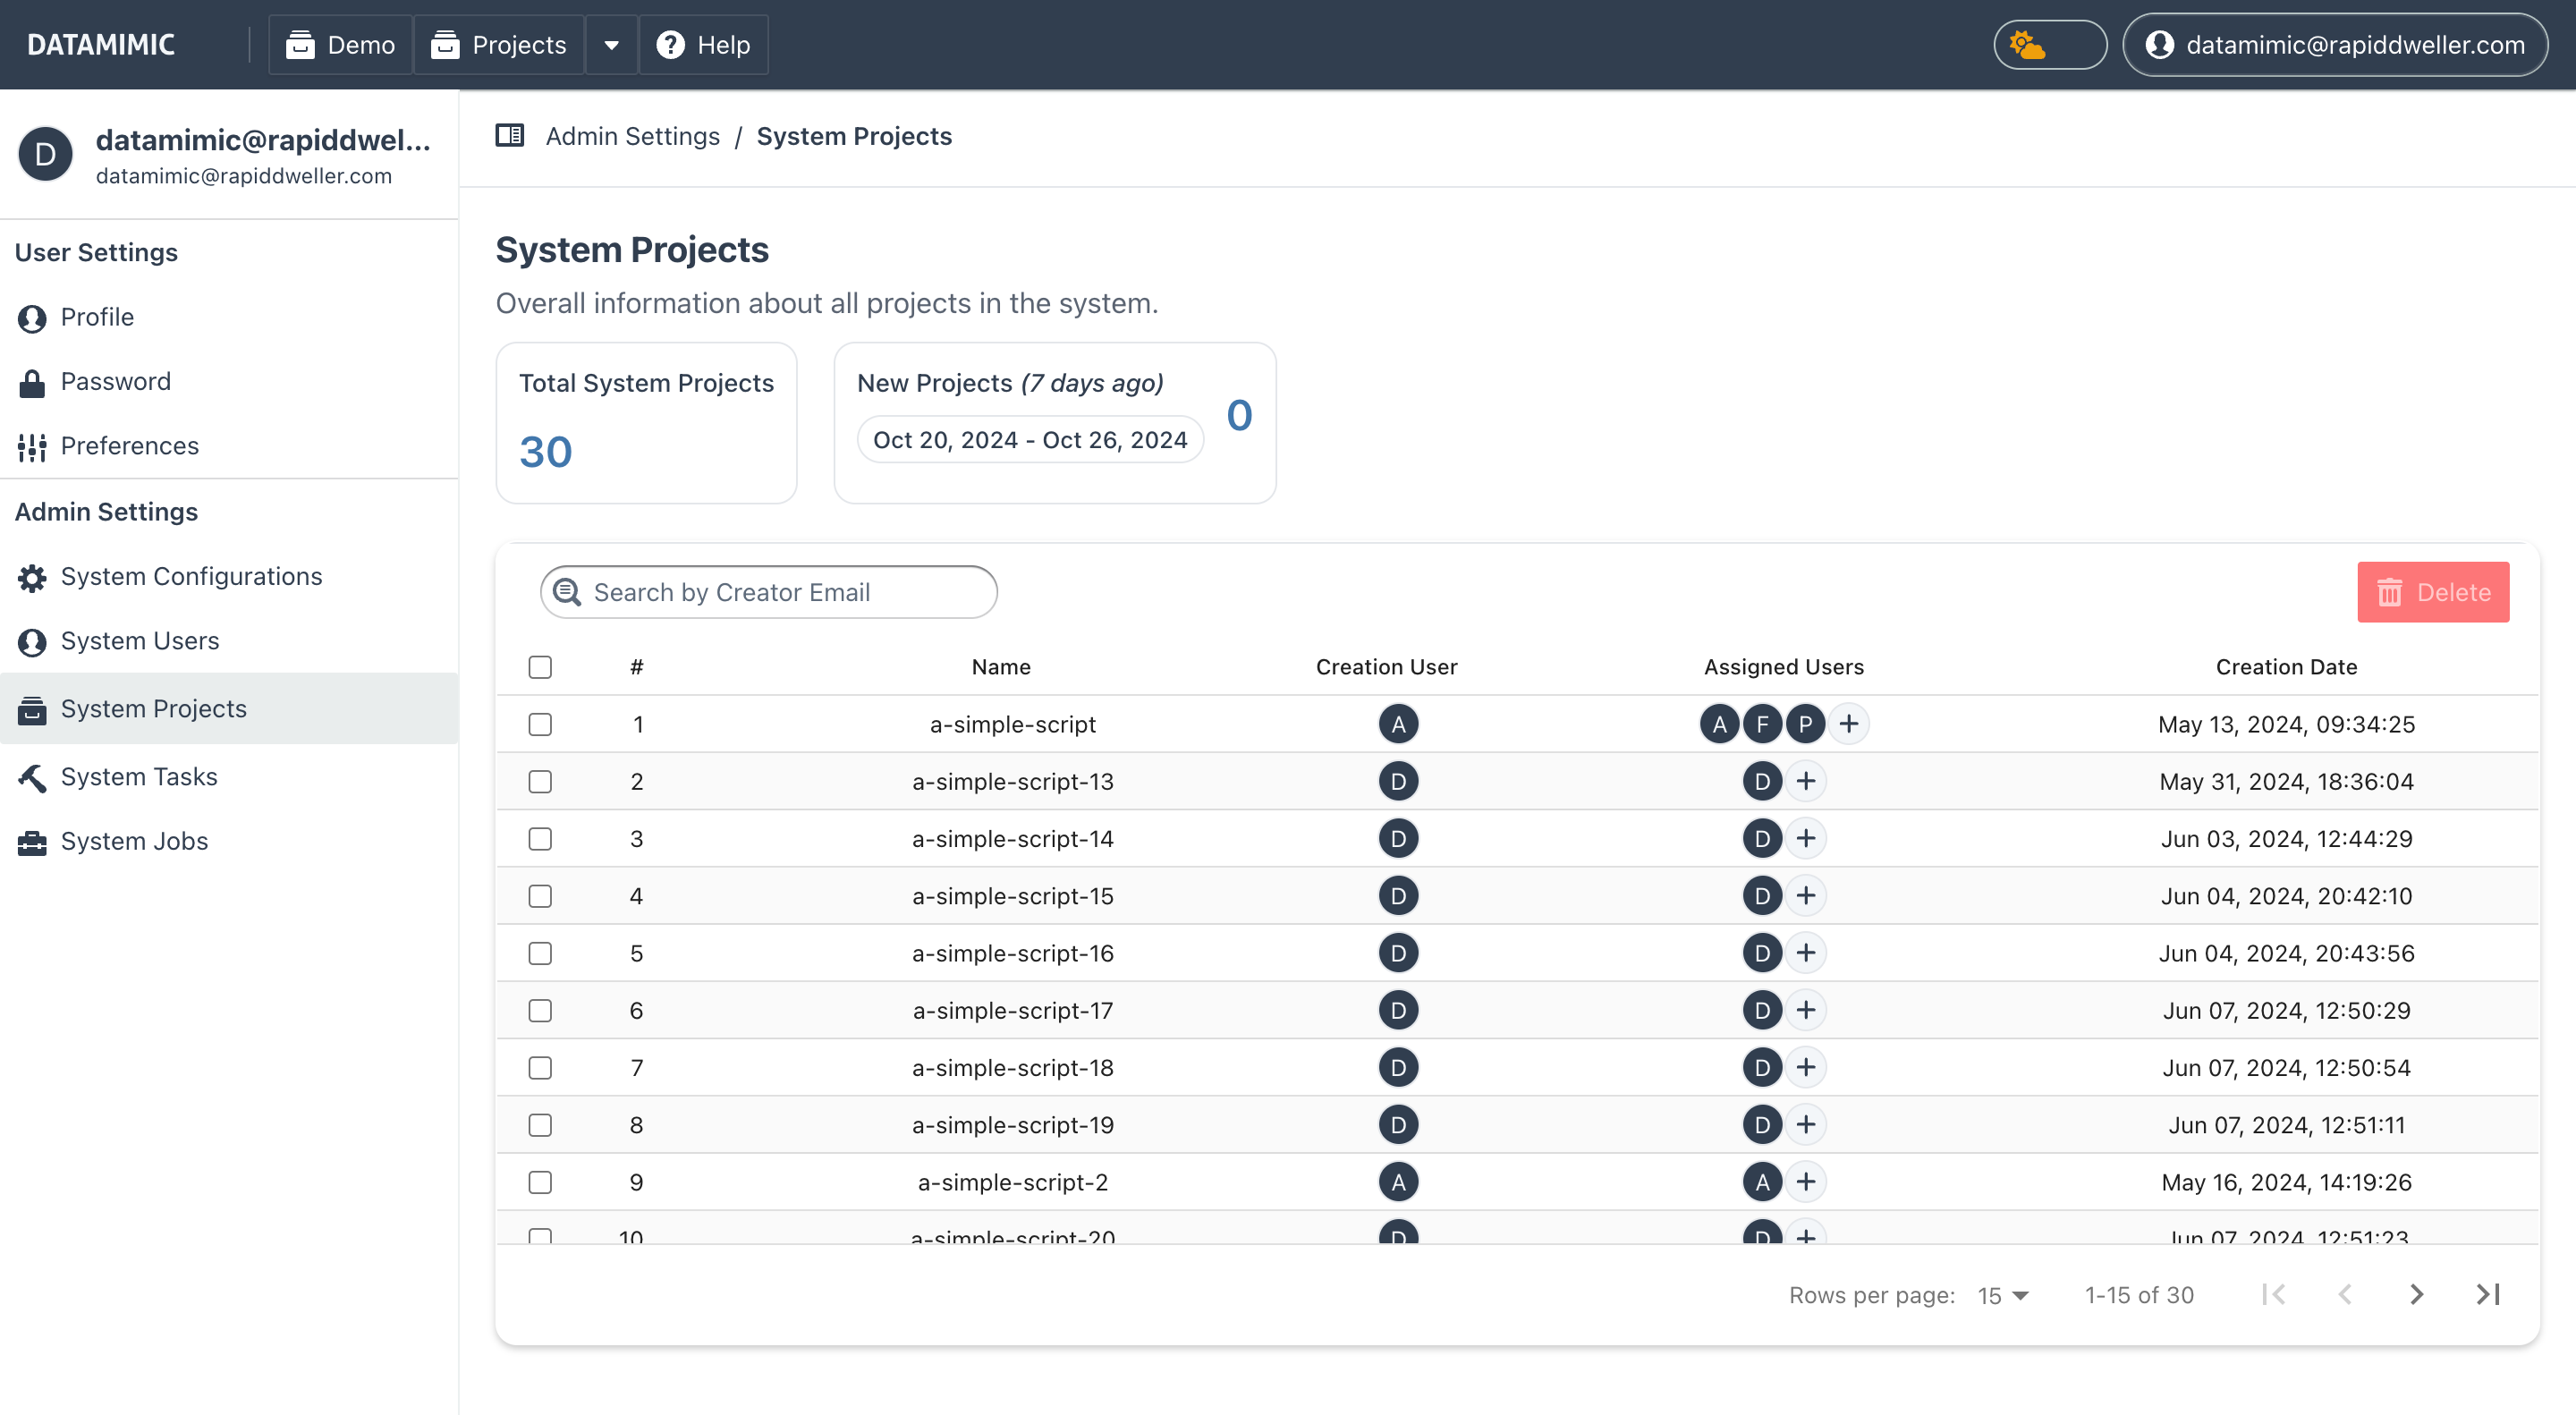
System Projects
The System Projects section allows admins to manage all projects across the system. Admins can:
- Add users to projects.
- Monitor and manage project details.
- Perform project-specific actions, similar to those available within individual project settings.
Note
Admins can add users to projects from the System Projects section. However all users can also add additional users for collaboration to their own projects.
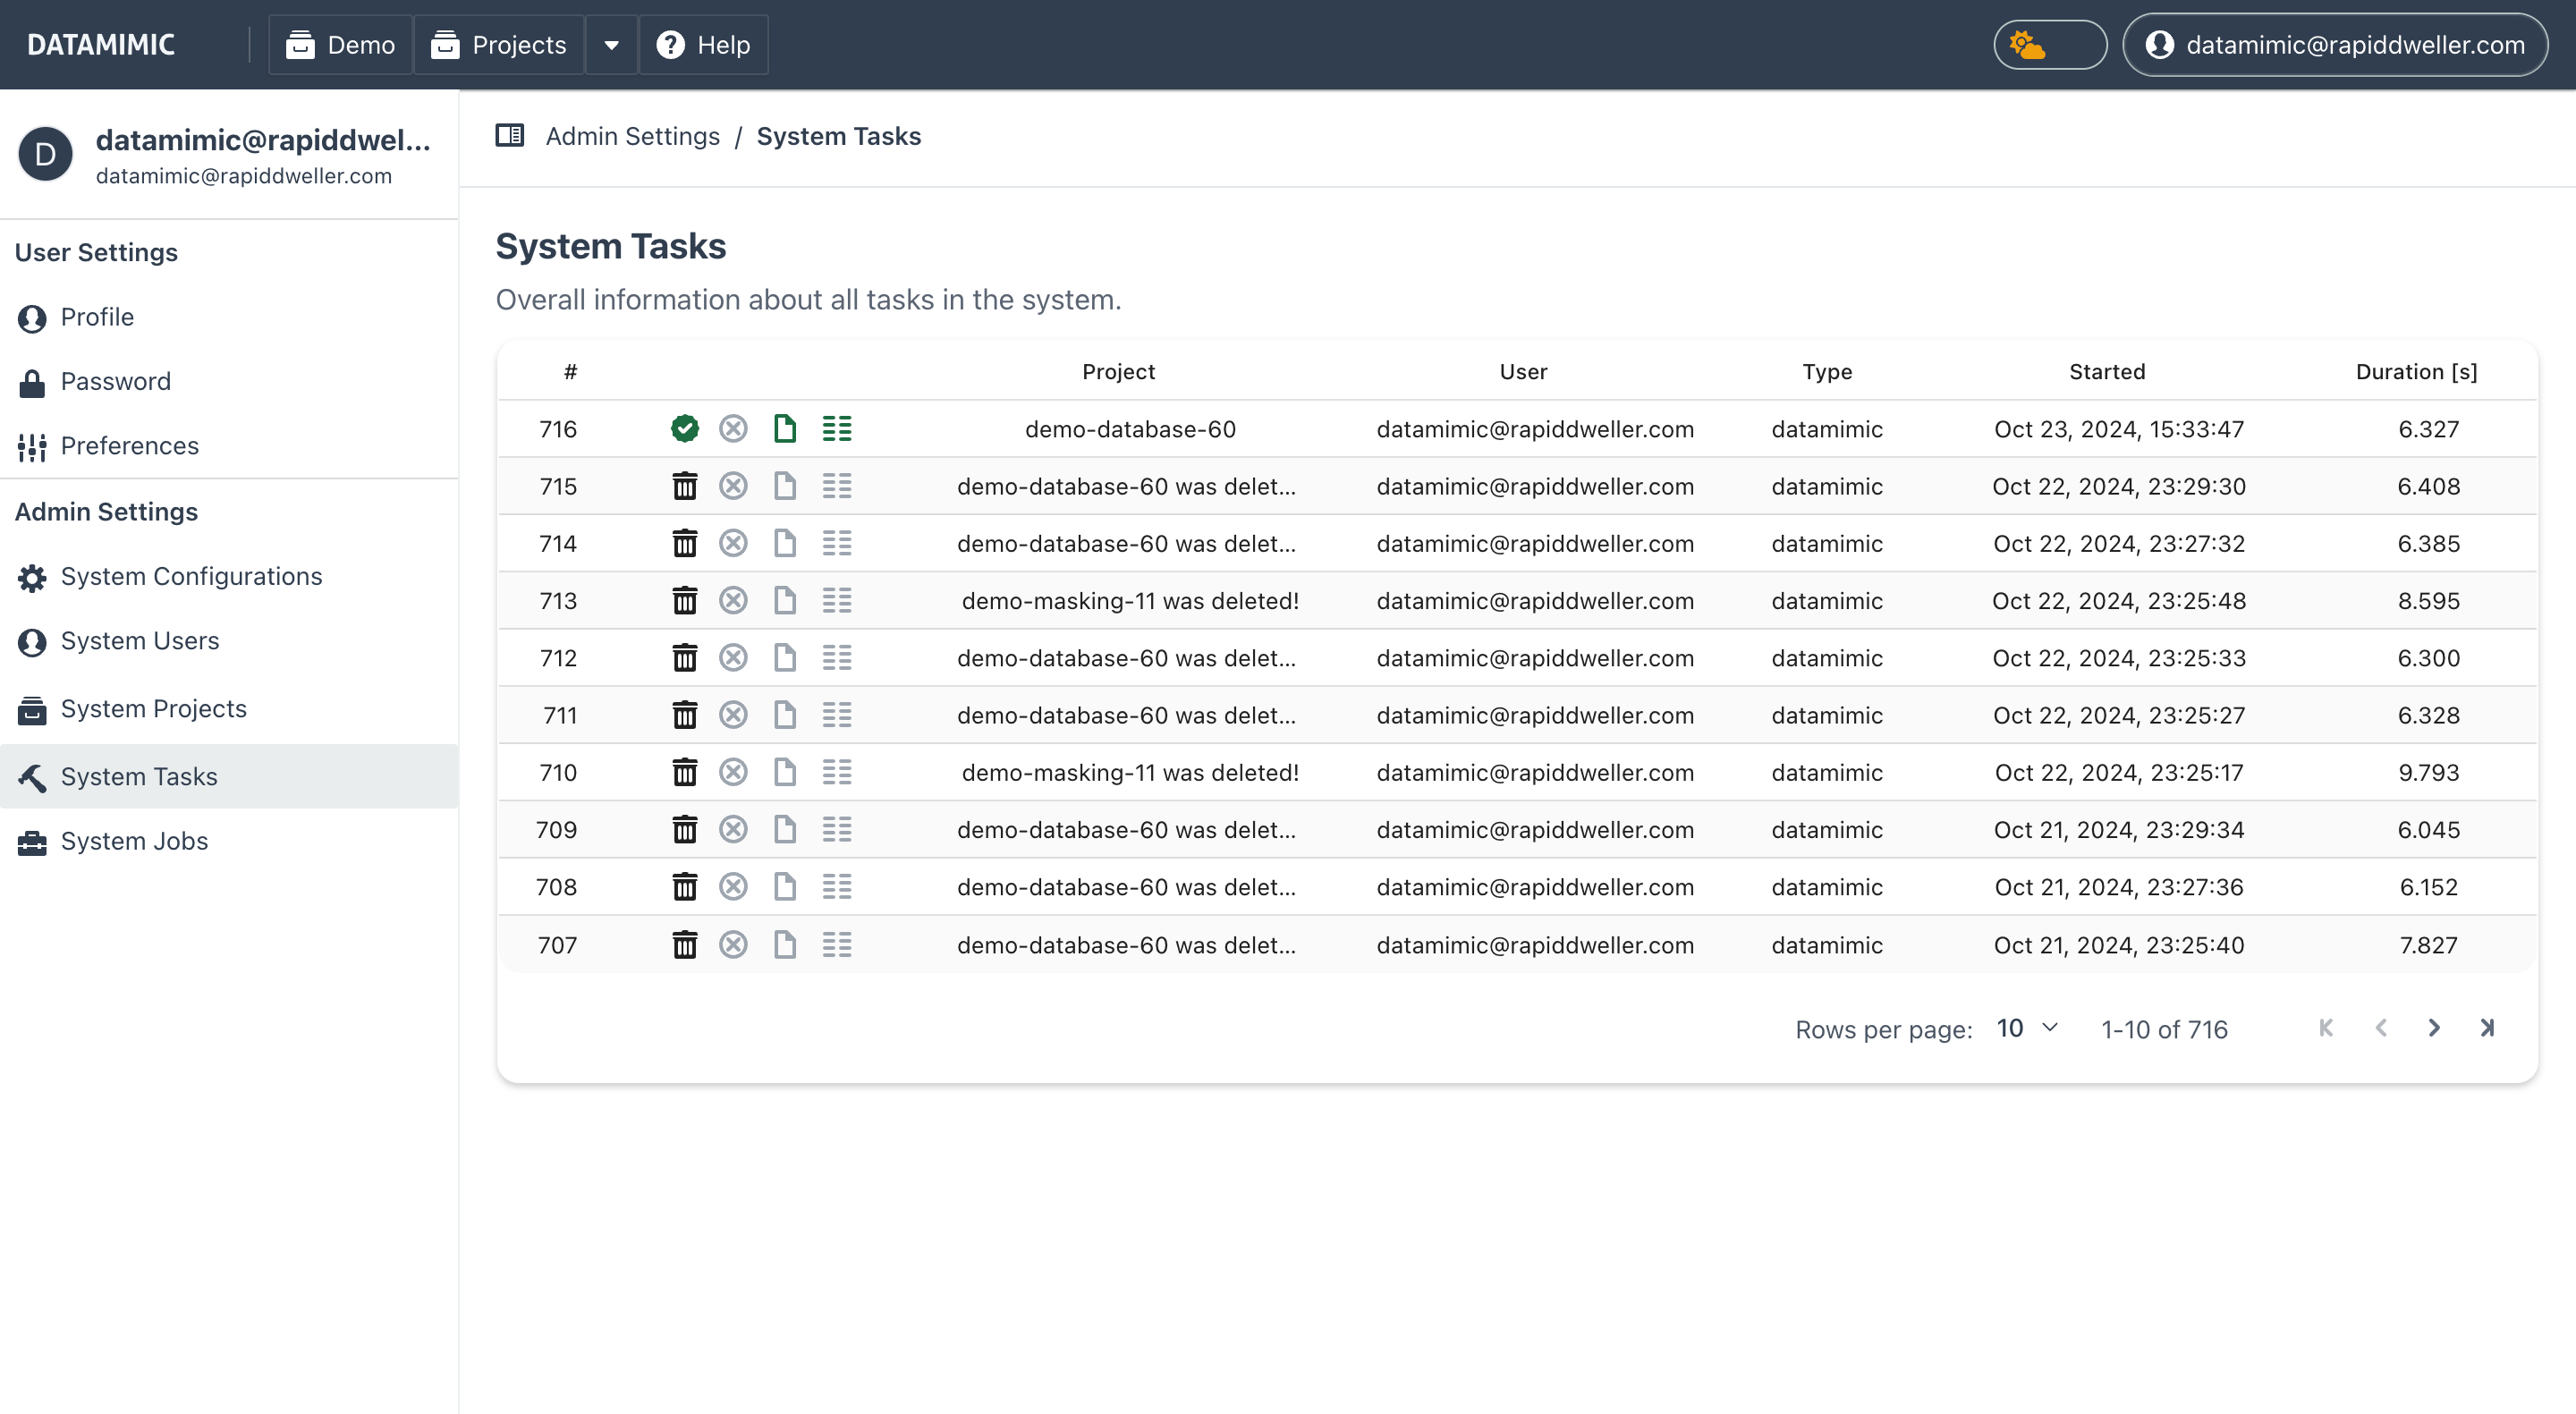
Admin Tasks
The Admin Tasks section provides an overview of project and system scope tasks. Admins can:
- Monitor the status of tasks.
- Manage task execution and scheduling (Stop, Pause, and Delete).
- Troubleshoot task-related issues.
- Search for specific tasks by their ID using the search input field.
- Reset the task list view using the reset button to clear any applied filters.
- Run Cleanup Running Tasks to clear tasks that were left in undefined states after a restart.
- Backup/restore and housekeeping tasks are managed separately under Backup and Restore and Housekeeping. Why: these tasks have dedicated views with their own filters and status tables.
Task Search and Filtering
The Admin Tasks interface includes search and filtering:
- Search by ID:
- Use the search input field to quickly locate specific tasks by entering their ID
- Press Enter to run the API-backed search
-
Results are filtered to show only tasks matching the entered ID
-
Reset Functionality:
- Click the reset button to clear any applied filters or search criteria
- This action restores the default view showing all tasks in the system
- Useful when you want to start fresh with a new search or remove applied filters
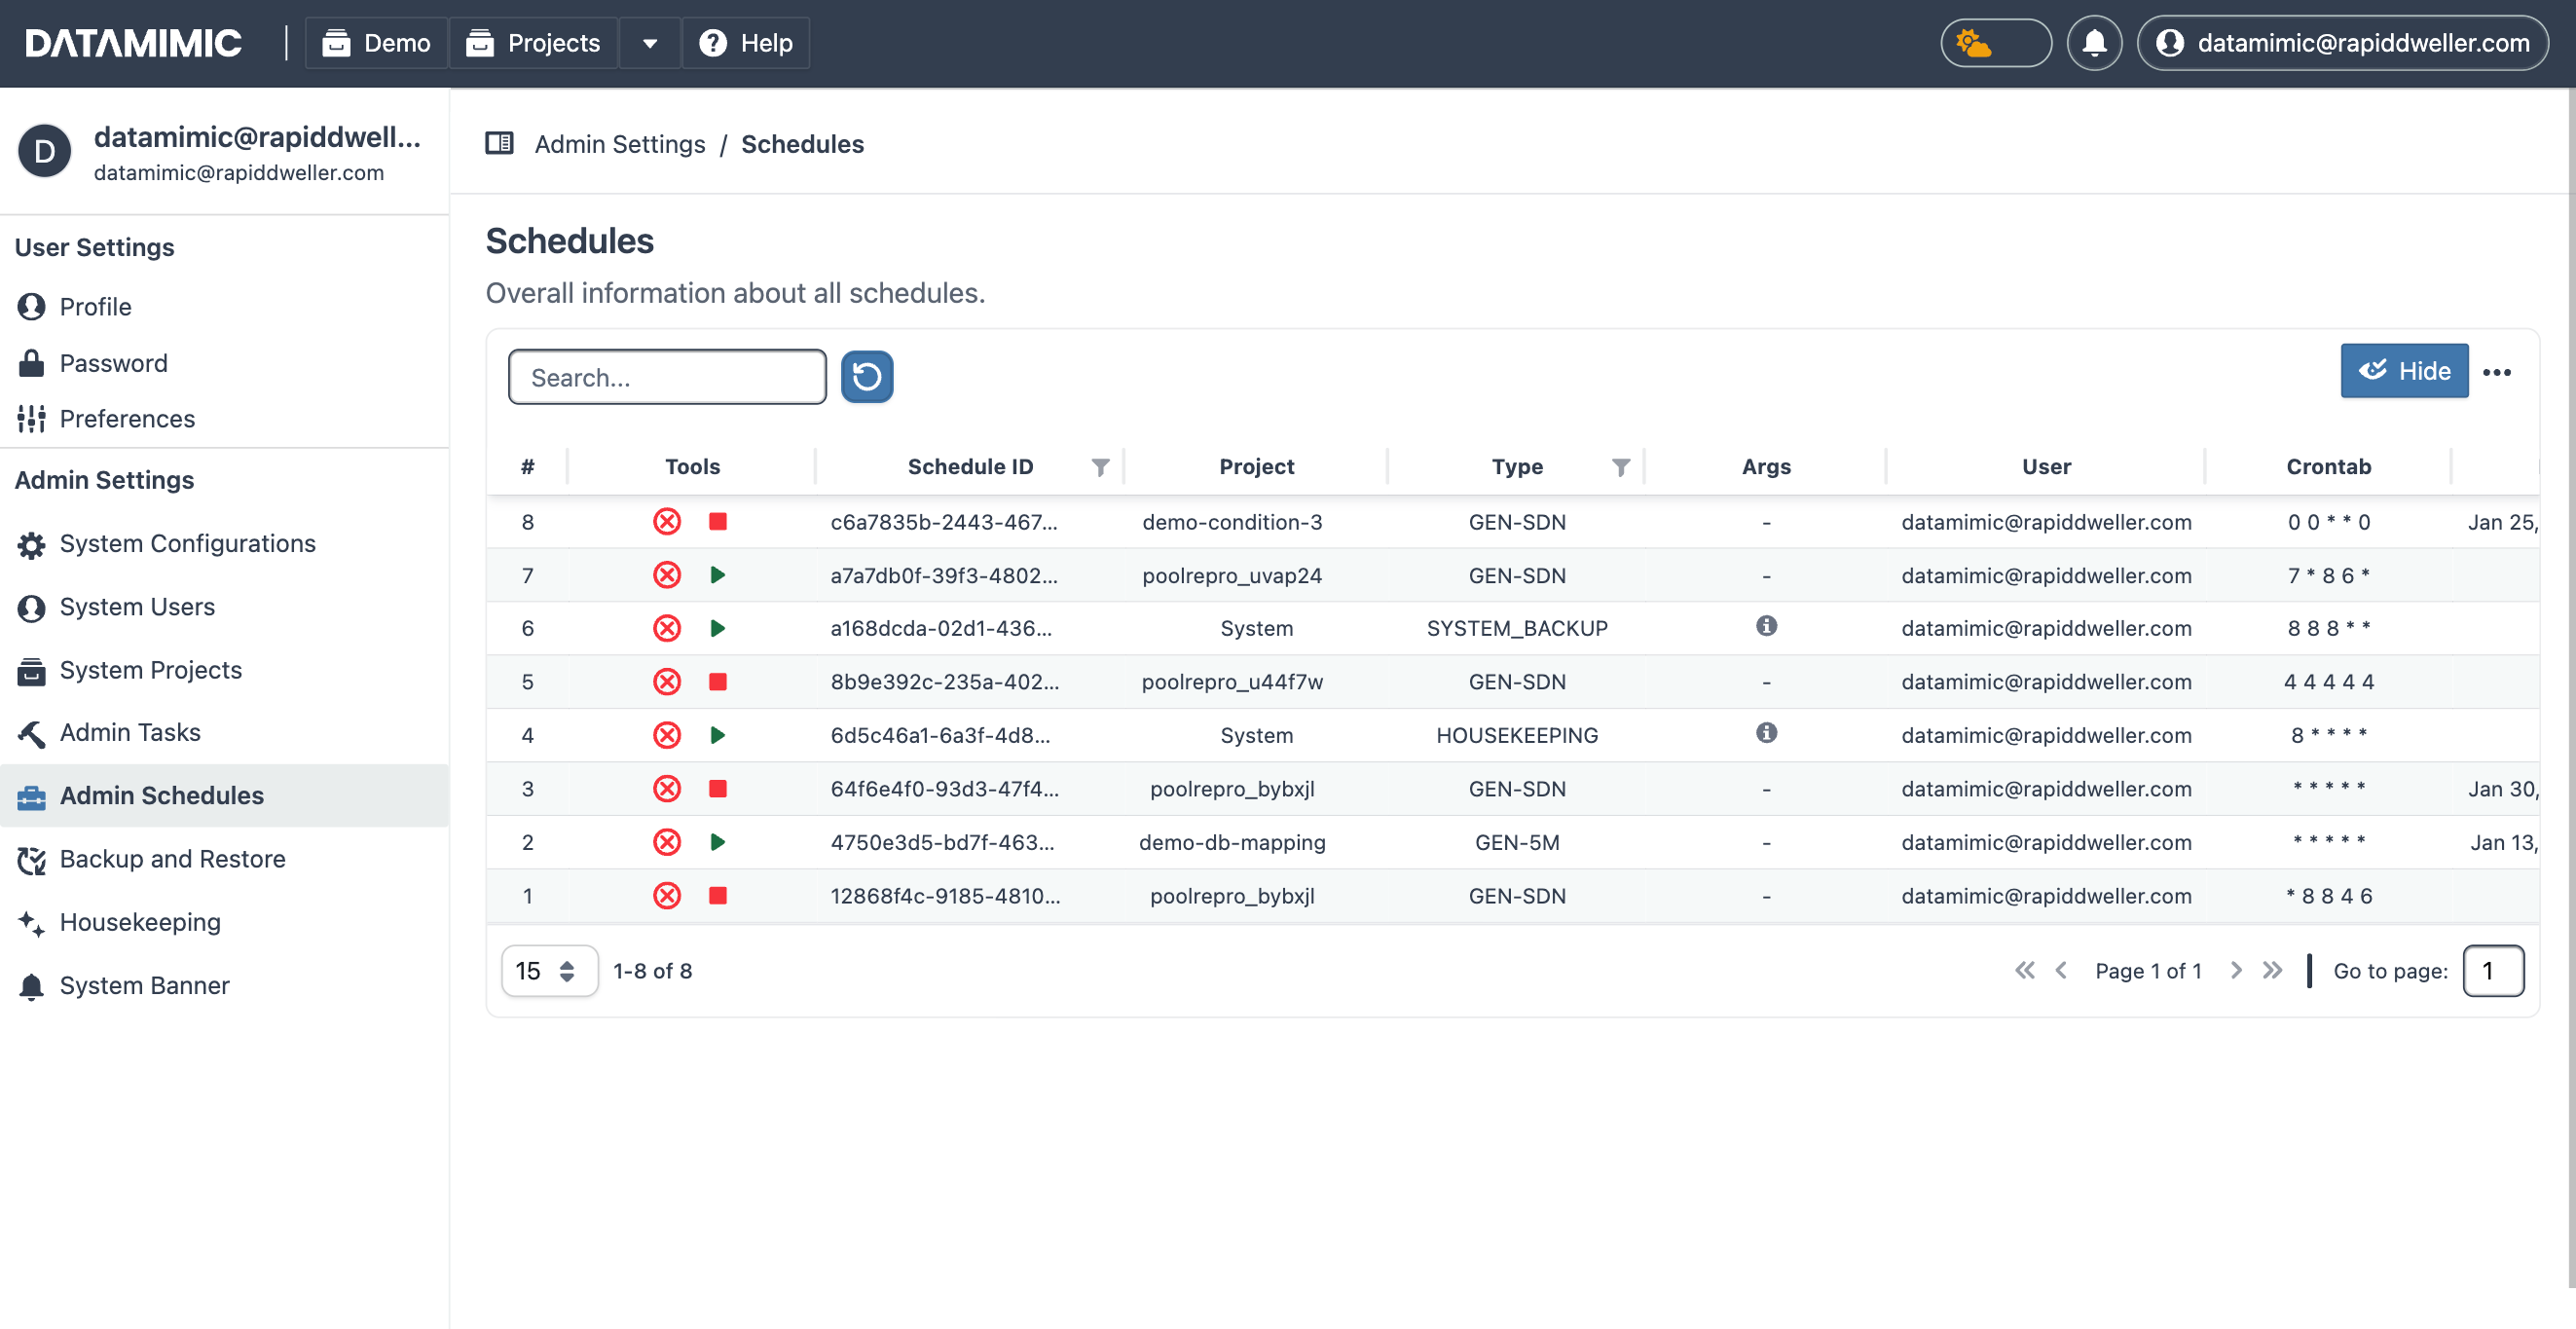
Admin Schedules
The Admin Schedules section provides management capabilities for all recurring schedules in the system. Admins can:
- Create, edit, and delete schedules.
- Monitor schedule execution and performance.
- Troubleshoot schedule-related issues.
Backup and Restore
The Backup and Restore section provides management capabilities for all maintenance related tasks in the system. Admins can:
- Create a backup of the system.
- Restore a backup of the system.
- Activate/Deactivate the Maintenance Mode to allow users to access the system.
For more details about the backup and restore process, please refer to the Backup and Restore DATAMIMIC Data guide.
Housekeeping
The Housekeeping section lets admins archive older task artifacts and delete very old task data based on retention windows. Admins can:
- Configure retention windows for full, merged, and deleted task data.
- Run housekeeping immediately or schedule it with a cron expression.
- Review housekeeping history in the system table. Why: tracking runs per task makes retention changes auditable.
System Banner
The System Banner section provides management capabilities for all banner related tasks in the system. Admins can:
- Create a banner to notify all users about the maintenance due to the instance will be locked down during the operation.
- Activate/Deactivate the banner to allow users to access the system.

For more details about the banner process, please refer to the System Banner guide.
Logs
Logs are essential for monitoring the activities and diagnosing issues within the DATAMIMIC system. Since DATAMIMIC as a cloud-native app does not store logs internally, they must be retrieved from your container platform. Depending on your deployment (Docker, Kubernetes, etc.), the methods for accessing logs may vary.
Retrieving Logs with Docker
For environments using Docker, use the following command to access logs:
1 | |
Replace [container_name] with the name or ID of your DATAMIMIC container. This command will display the logs generated by the DATAMIMIC application running inside the specified Docker container.
Retrieving Logs with Kubernetes
If DATAMIMIC is deployed within a Kubernetes cluster, use kubectl to retrieve logs:
1 | |
Replace [pod_name] with the name of the pod running the DATAMIMIC application. This command fetches logs that are crucial for troubleshooting and monitoring the system's behavior in a Kubernetes environment.
Important Notes
- Log Persistence: Logs retrieved via Docker or Kubernetes are not persistent and are typically cleared on container/pod restart. For persistent logs and richer querying, integrate with a log management solution.
- Access Control: Restrict log access to authorised personnel — logs may contain sensitive information.
- Real-time Monitoring: For real-time log monitoring, integrate with tools such as ELK Stack or Splunk.
Note
For detailed instructions on setting up and configuring log management tools, refer to the respective documentation of the tool you are integrating with.