Using Global Project
In this guide, we will introduce the concept of global projects and provide step-by-step instructions on how to create, link, and manage global projects within your standard projects. Global projects allow for shared resources and configurations, ensuring consistency across multiple standard projects. For a detailed overview of global projects, refer to the Global Projects Section.
Make A Global Project
See here for a detailed overview.
In this tutorial, we will focus on making a Global Project from our DATAMIMIC's Custom Components Demo.
- From the DATAMIMIC Demo Store, Clone our Demo called Custom Components.
- Navigate to the Cloned Demo's Project Settings.
- Click on the "Globe" icon to make this project into a global project.
This project will now become a Global Project, which means any other standard project you create can have the option to link to this Global Project.
Link Global Project to a Standard Project
- Create a new empty DATAMIMIC Project.
- Navigate to the newly created empty Project Settings.
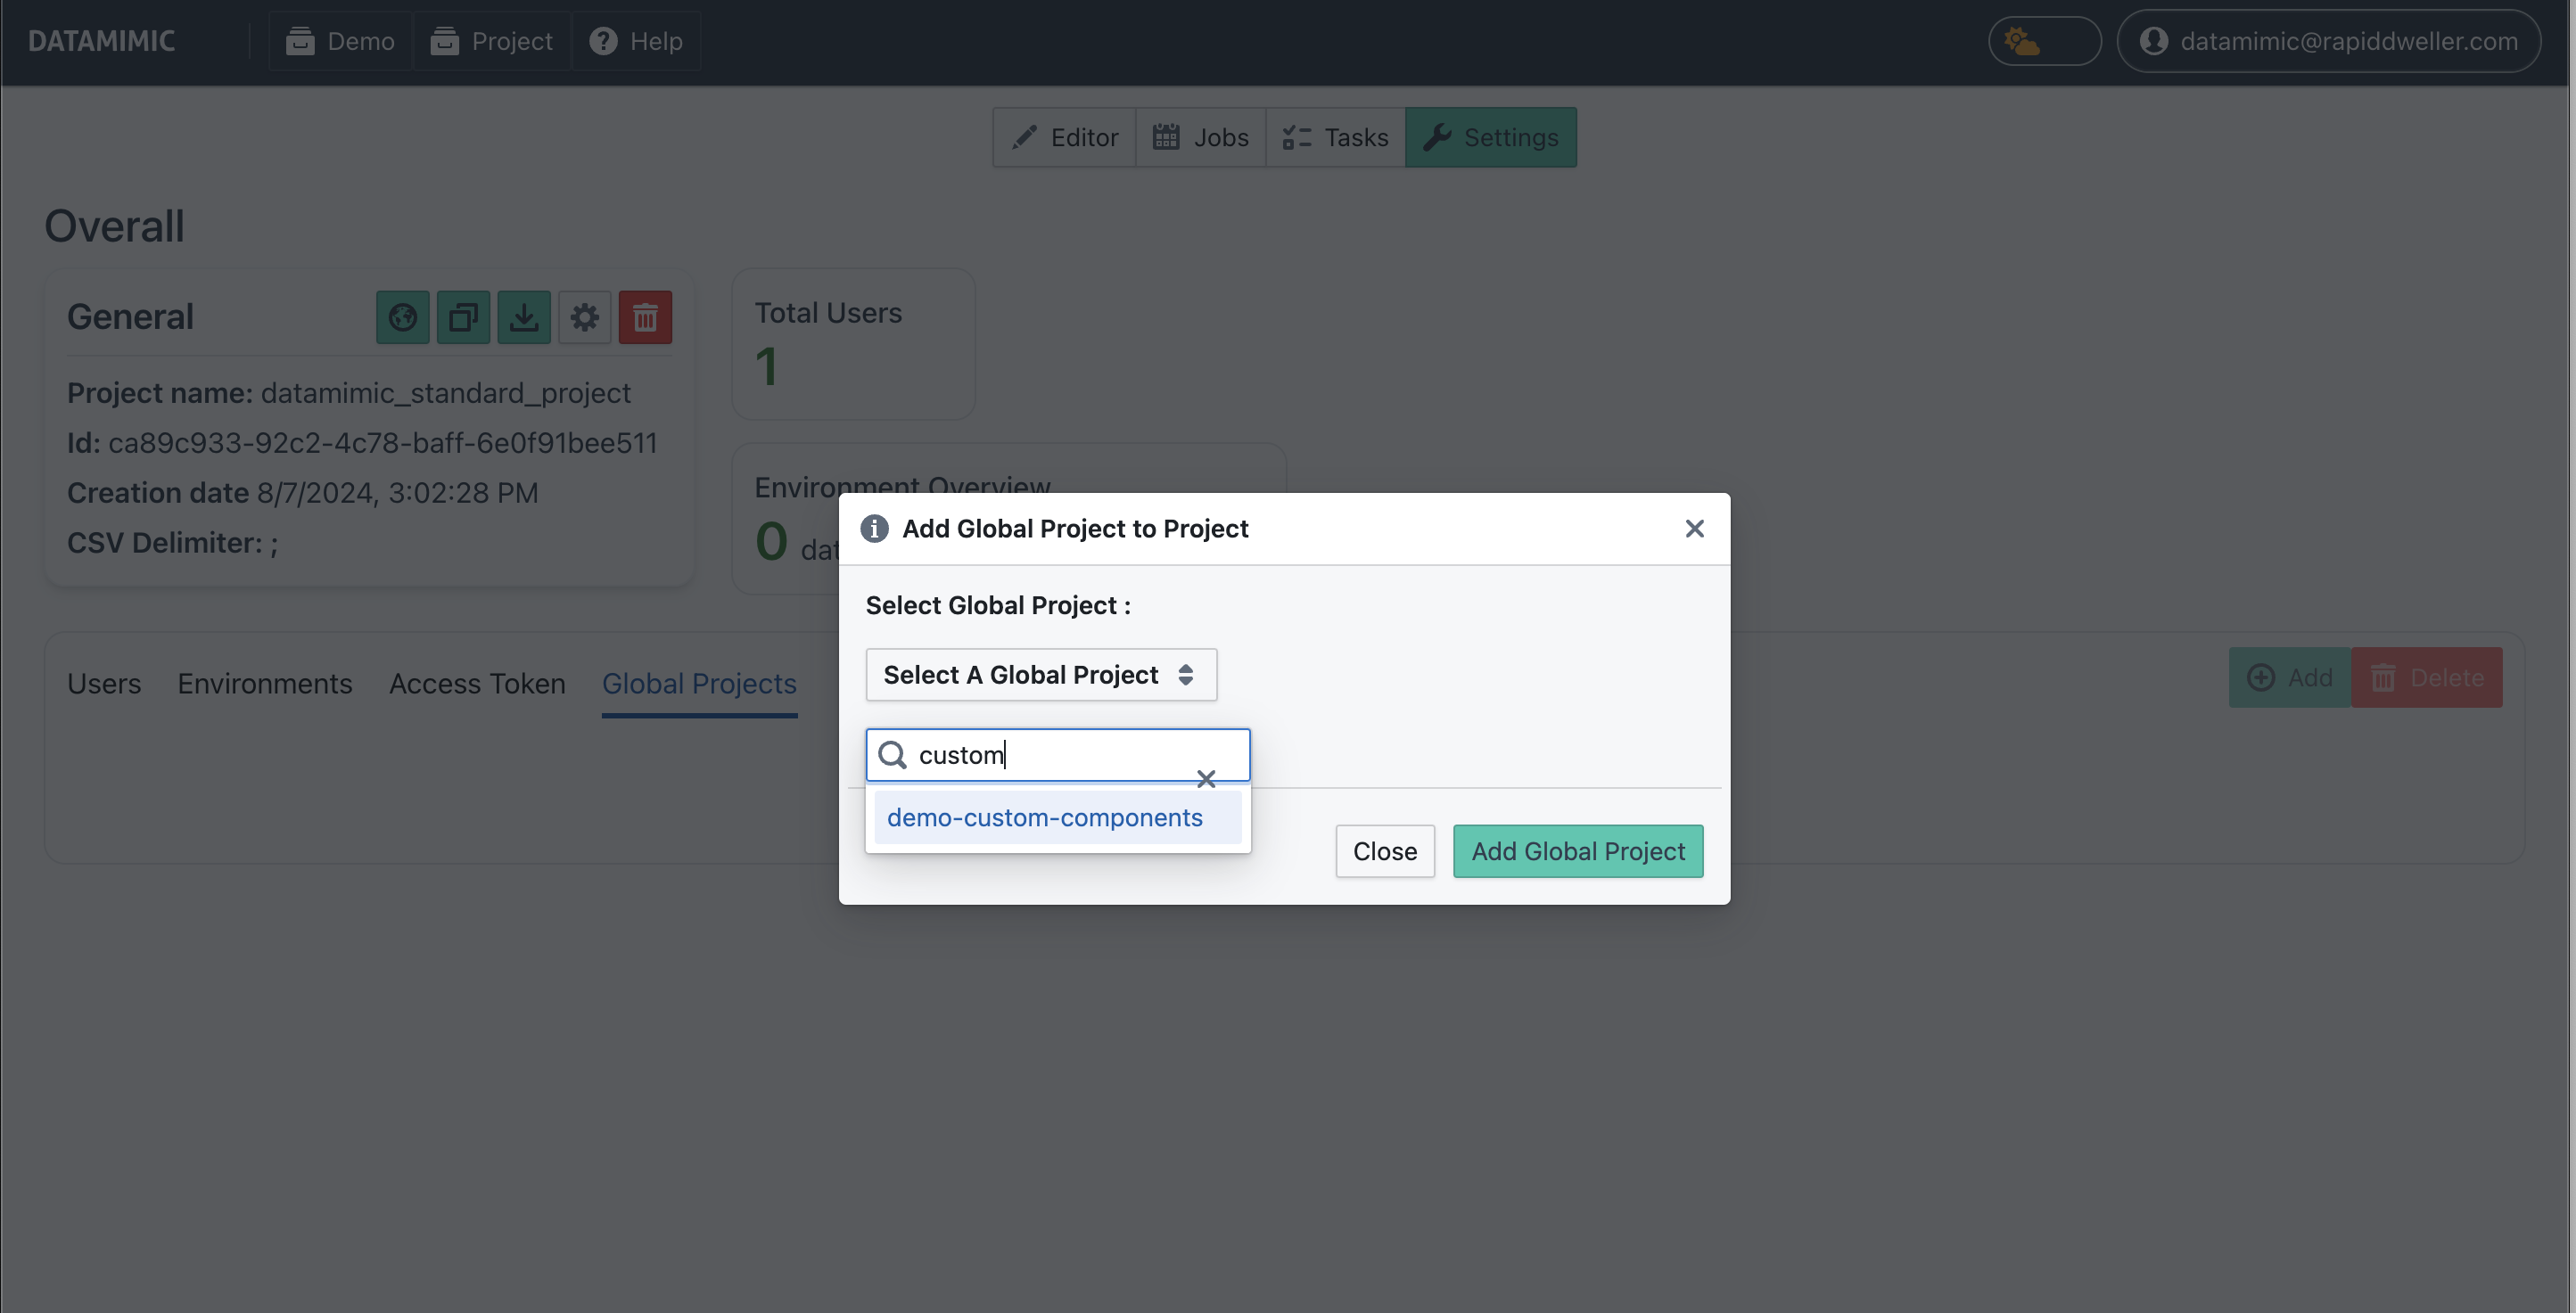
- Choose the Global Projects tab, Click on Add and select the Global Project Custom Component we just created.
- Navigate back to the Editor.
In the File Editor, you will see that our standard project will now include files from the Custom Components Global Project. However these files will only be available as read-only access. These files will have a special icon and will be read-only. If you wish to make changes to these files, see here
Note
Note that both the Global Project and the standard project have a datamimic.xml file. However, once linked, the content of the datamimic.xml file in the new project will not automatically update to match the global project's datamimic.xml. This is because, when merging project files, the standard project's files take precedence in case of name duplication. For more details, refer to our Best Practices for managing global project.
Effective project view
The Editor, IDE integration, language assistance, authoring tools, and generation use the same effective project view:
- Files from linked global projects appear at their normal relative path with a globe and source-project label. They are read-only while viewed through the standard project.
- A standard-project file wins when it has the same path as a global file.
- If two global projects contain the same path, DATAMIMIC uses a stable project order and records the conflict as a warning. The overlap does not stop a task.
- Non-conflicting files and directory children from every linked global project remain available.
- System environments are merged by their case-sensitive name. The complete standard-project environment wins a name collision; non-conflicting global environments remain available and are read-only.
To change an inherited file or environment, open its source global project as the current project. DATAMIMIC never writes through the consuming project into a linked global project.
Generate Project
The linked demo exposes reusable component and model files in the effective project view. Follow the EE-owned Custom Generators and Converters and determinism and parallelism guides for the verified model syntax and runtime constraints.
- Open the inherited model and configuration files in the Editor to inspect the effective project view.
- Create or update the consuming model using the Core guides above.
- Click Generate.
- Open Task and inspect the result after generation finishes.
Our DATAMIMIC model is now designed to include predefined custom generators and converters from the global project. This approach allows you to utilize global projects to manage advanced use cases, such as having shared generators, scripts, or converters across multiple standard projects. By using a global project, you can establish a consistent logic that can be replicated in each standard project, streamlining your workflow and ensuring uniformity.
Recap
In this guide, we introduced the concept of global projects and demonstrated how to create, link, and manage them within your standard projects using DATAMIMIC. Here’s a summary of the key steps:
- Create a Global Project:
- We began by cloning a demo project called Custom Components from the DATAMIMIC Demo Store.
- We converted this project into a global project by navigating to the Project Settings and clicking the “Globe” icon.
- Link a Global Project to a Standard Project:
- We created a new empty DATAMIMIC project and accessed its Project Settings.
- Under the Global Projects tab, we added the Custom Components global project.
- We returned to the File Editor, where we observed that files from the global project appeared as read-only with a special icon.
- Generate Project:
- We edited the
datamimic.xmlfile to include custom generators and converters from the global project. - We updated the base config file and then clicked Generate to apply the custom configurations.
- We reviewed the results in the Task view after the generation process was completed.
- We edited the