Business Mode File Tree
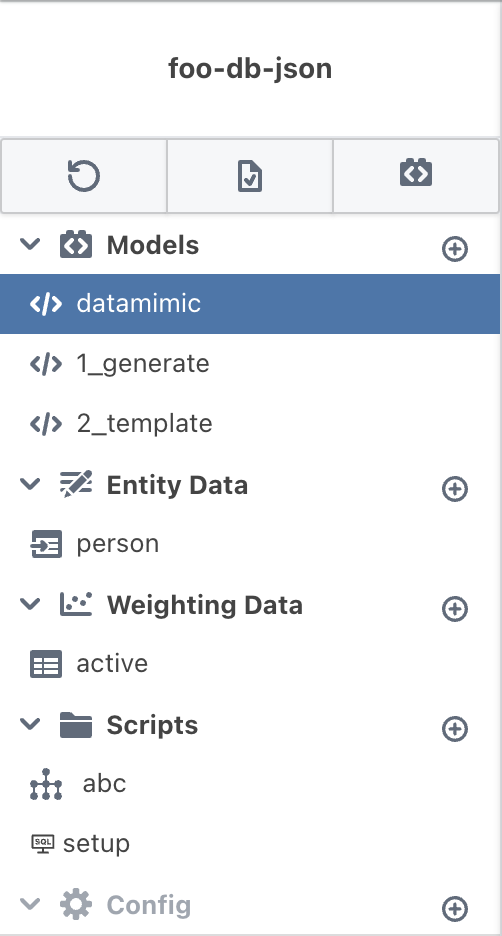
The Business Mode File Tree is the left sidebar of the editor. It shows your project structure and provides fast file and folder management, search, and navigation.
Search and Navigation
- Breadcrumbs show the current folder path and let you jump up the tree.
- Filter narrows the list by name (files and folders).
- Root is a drop target to move items back to the root.
Folder Organization
Create nested folders to organize your project:
1 2 3 4 5 6 7 8 9 | |
Creating Folders
- Open the File Menu (three dots) in the Root row, or use the Add icon on a folder.
- Select Add Folder.
- Enter a name, optionally choose a color or icon, and click Create.
Managing Folders
Right-click a folder to open the context menu:
| Action | Description |
|---|---|
| Rename Folder | Change the folder name |
| Duplicate Folder | Create a copy of the folder including contained files |
| Delete Folder | Remove the folder (files move to root) |
| Folder Color | Apply or clear a color |
| Folder Icon | Set a folder icon preset |
You can drag and drop folders to move them. Drop on Root to move back to the root.
File Types
Files are identified by their extensions. Common types include:
- Models:
.xml - Entity Data:
.ent.csv - Weighting Data:
.wgt.csv,.wgt.ent.csv - Templates:
.template.* - Scripts:
.json,.sql,.py,.js - Config: project configuration files
Weighting files are created the same way as any other file type — pick Weighting (.wgt.csv) or Weighting / Multi in the File Wizard.
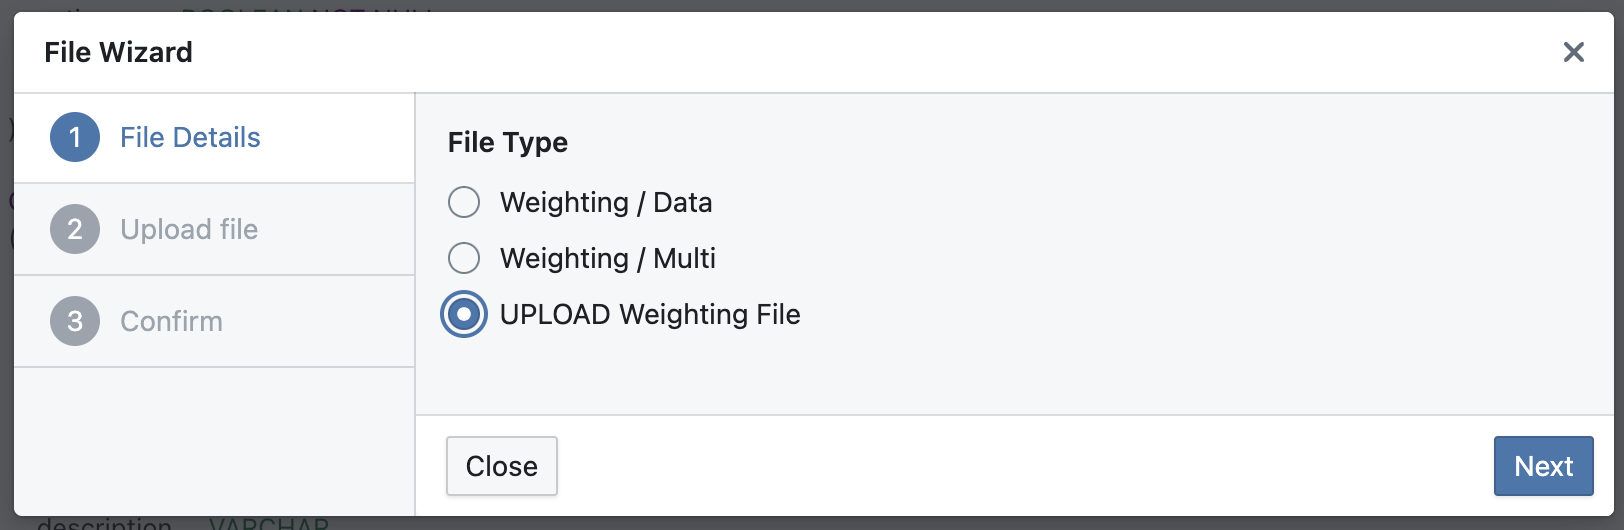
Creating New Files
Use Add File from the File Menu (root or folder). This opens the File Wizard where you select a file type and, if needed, upload content.
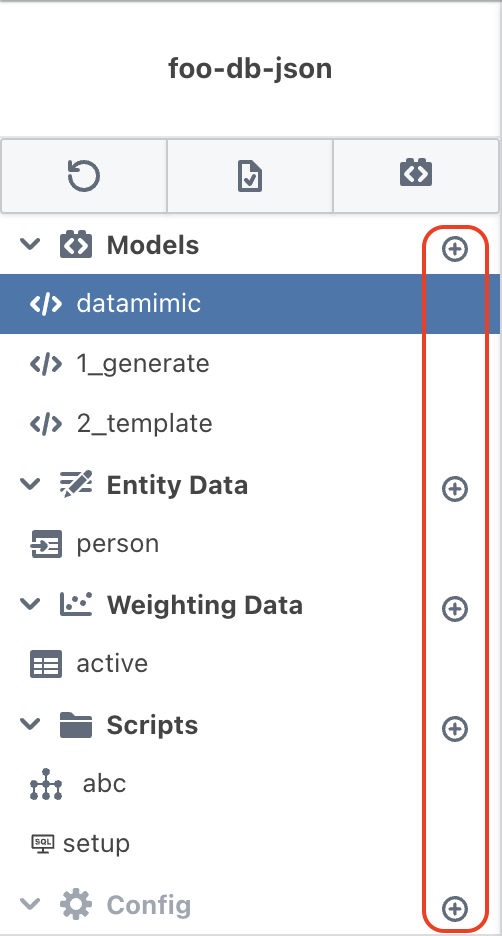
Managing Files
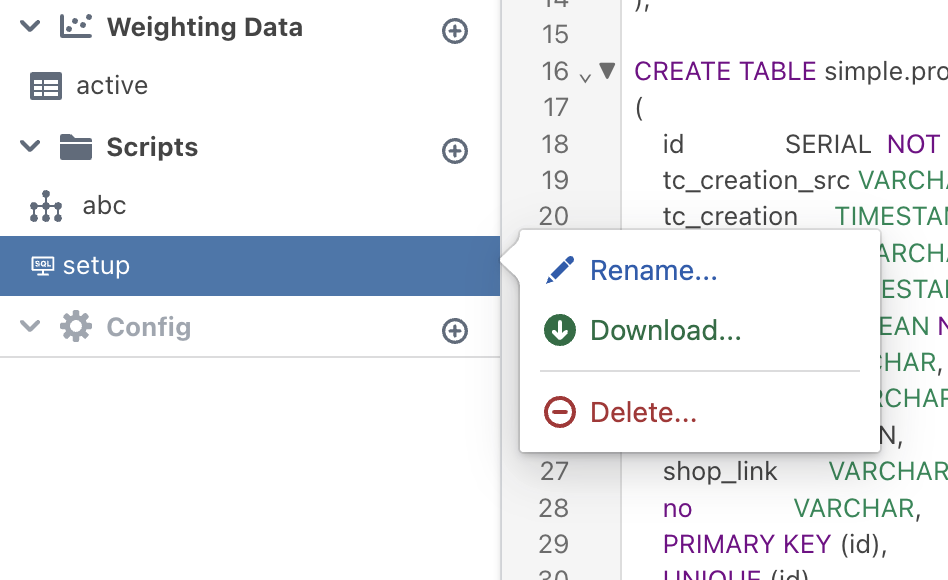
Right-click a file to open the context menu:
- Rename, Download, Duplicate, Delete
- Hide/Unhide file
In multi-user projects, a lock icon appears to show edit status. Global files are read-only.
Uploading Files
Upload files by dragging them into the tree or onto a specific folder. The file is imported into the project and appears in the tree.
Supported Formats
The platform accepts common CSV encodings and the supported delimiters listed below. Detection is best-effort; configure the delimiter when it cannot be detected:
| Encoding | Supported |
|---|---|
| UTF-8 | ✓ |
| UTF-16 | ✓ |
| ISO-8859-1 | ✓ |
| windows-1252 | ✓ |
| ASCII | ✓ |
| Delimiter | Supported |
|---|---|
Comma (,) |
✓ |
Semicolon (;) |
✓ |
Pipe (\|) |
✓ |
| Tab | ✓ |
Automatic Detection
The platform attempts to detect file encoding and delimiter during upload. If delimiter detection fails, provide a supported delimiter manually.
Download Format
When downloading files, the format matches your project settings:
- Settings → General → CSV Delimiter
- Settings → General → Project file encoding
Note
Easy drag-and-drop is especially handy if you are updating CSV files in your favorite local editor and want to upload them into your project as input data for generation.
File Tree Actions
The file tree sidebar's own action bar provides:
- File Menu (three dots) on the Root row, and the Add icon on folders, to create files and folders — see Creating Folders and Creating New Files.
- Collapse/Expand Sidebar: The file tree sidebar is resizable and can be collapsed on its own, independently of the app navigation sidebar.
Reset Changes, Save Changes, and Switch Editor Mode are not in the file tree sidebar — they sit in the top toolbar, next to Generate — see Editor Navigation Bar.
